Hi there!
We are having a mini heat wave here lately. The geraniums are loving it!!
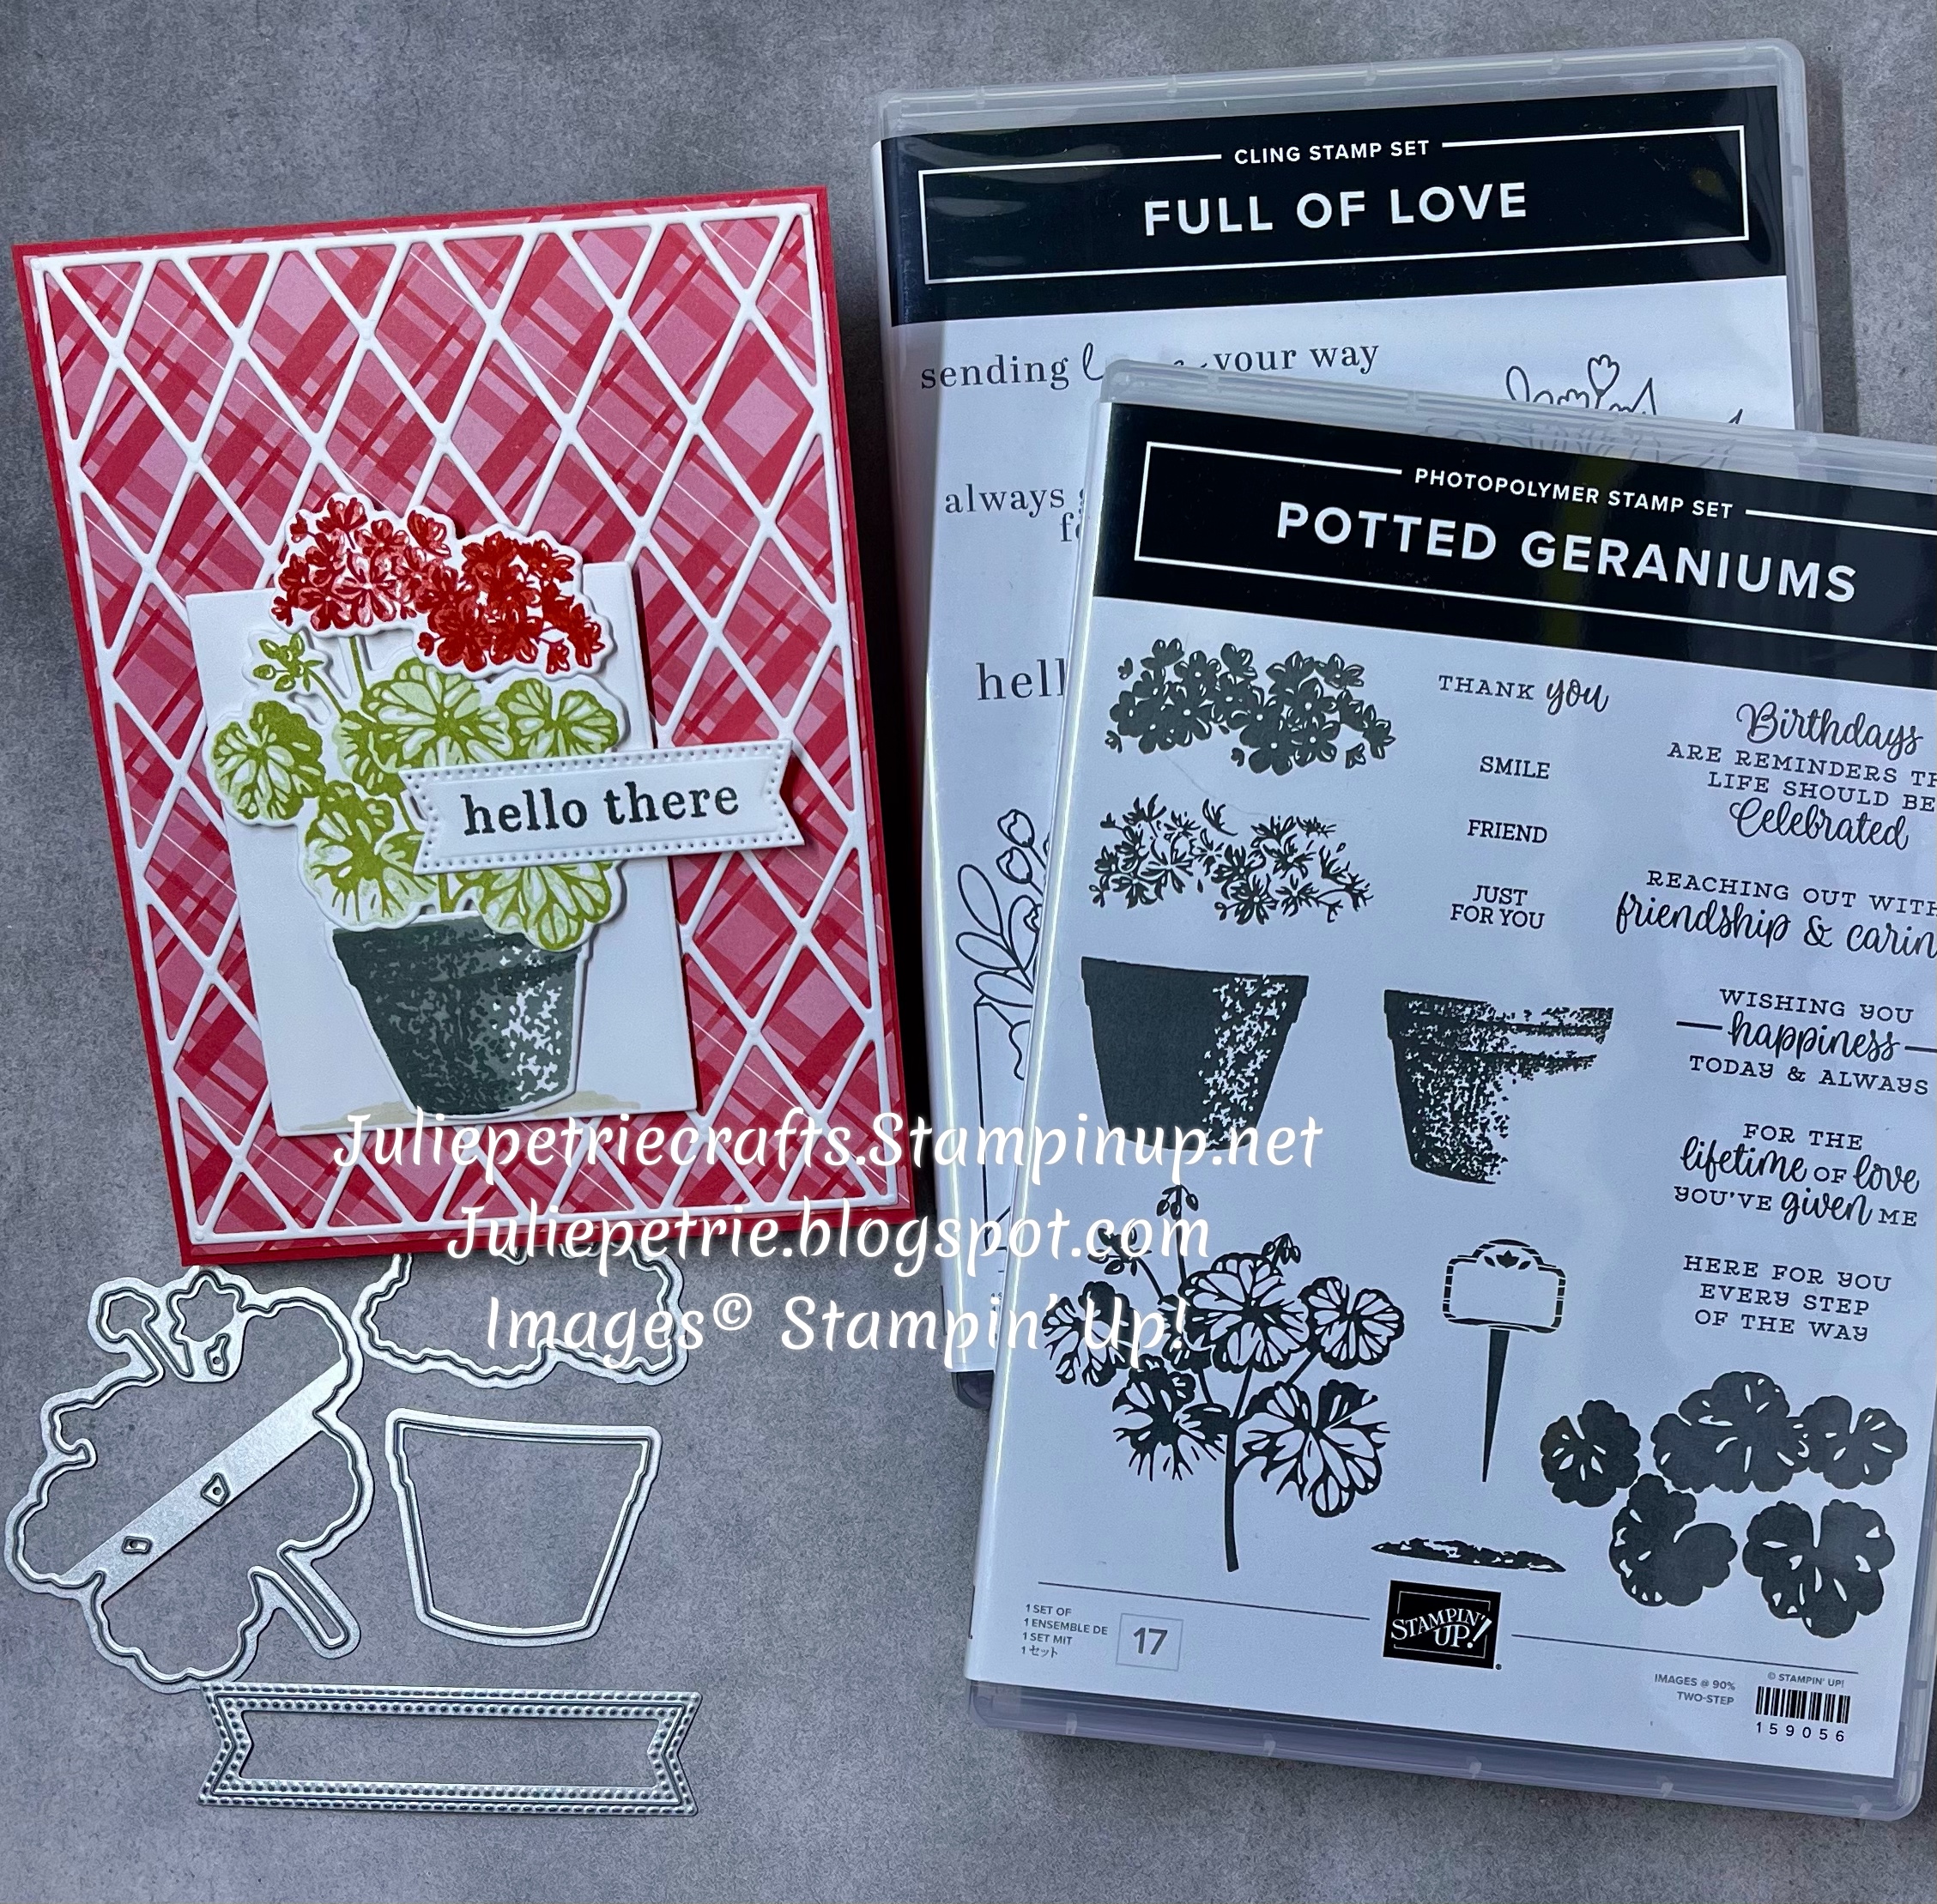
Today I am using the Potted Geraniums stamp set & dies. These are available in a Bundle, saving you 10%. Item #159062. The Geranium Dies set has dies to not only cut out the flowers, leaves, and flower pot, but also a great label die. The set also has some filler leaf dies and a die to add a label to the pot, if you want.
Die cutting just got a whole lot easier!! The new Magnetic Plate for the Standard Cut & Emboss Machine is now available. I just LOVE using it!! You'll want to give it a try. It's on page 157 of the Annual Catalog. Order in my online store with Item #161128. To see all supplies I used click HERE.
Card details
Card Base: Sweet Sorbet card stock, 5 1/2" x 8 1/2", fold at 4 1/4".
DSP layer: from the 2022-2024 In Color Assorted DSP, Sweet Sorbet plaid selection - cut it to 4 1/8"x 5 3/8".
Lattice piece: Use lattice die from the Organic Beauty dies.
- Basic White card stock, 4 1/2" x 5 3/4".
- Adhere Adhesive sheets to back of the white CS. Place lattice die to front of the white piece and run through the Cut & Emboss Machine.
- Peel off the backing, revealing the sticky side, and carefully adhere the lattice to the layer of DSP.
- (If you don't' have adhesive sheets, use some liquid glue to adhere lattice to the DSP.)
Glue the lattice-DSP layer to the Sweet Sorbet card base.
Geraniums in flower pot.
Stamp all the components onto Basic White Card Stock. Then die cut all your stamped pieces using the Geranium Dies.
These components are all 2-step stamping. For the leaves & the flowers, I find it easier to stamp the detailed, or lined, images first. Then stamp over them with the more solid image. But do in whichever order works for you.
Ink colors:
- Pot: stamp solid pot in Smoky Slate ink; stamp the "shadow" pot over top, using Basic Gray ink.
- Leaves: stamp the veined, detailed leaf image with Pear Pizzazz ink; stamp over top with the solid image with Soft Seafoam ink.
- Flowers: stamp the detailed lined image with Sweet Sorbet ink; stamp over top with solid flowers in Poppy Parade ink.
Focal Point piece:
After die-cutting all the pieces, adhere the flower pot & geraniums using Stampin Dimensionals onto a piece of white card stock cut 3" x 2 1/2". (Alternatively, you could use any shape die you have to cut this rectangle piece.)
Use more dimensionals to adhere this to the card front, on top of the lattice.
Sentiment: stamp greeting from Full of Love stamp set with Basic Gray ink on white CS; die cut using Stylish Shapes Dies. Adhere to card front, using glue where label overlaps leaves, and dimensionals on other end (use 2 dimensionals stacked to make label level on card front, due to the thickness of all the layers).
If you don't have that set of dies for the label, just cut a strip of white CS and cut a flag at one or both ends.
To see the list of supplies for this card, click HERE.
*********************************************************************
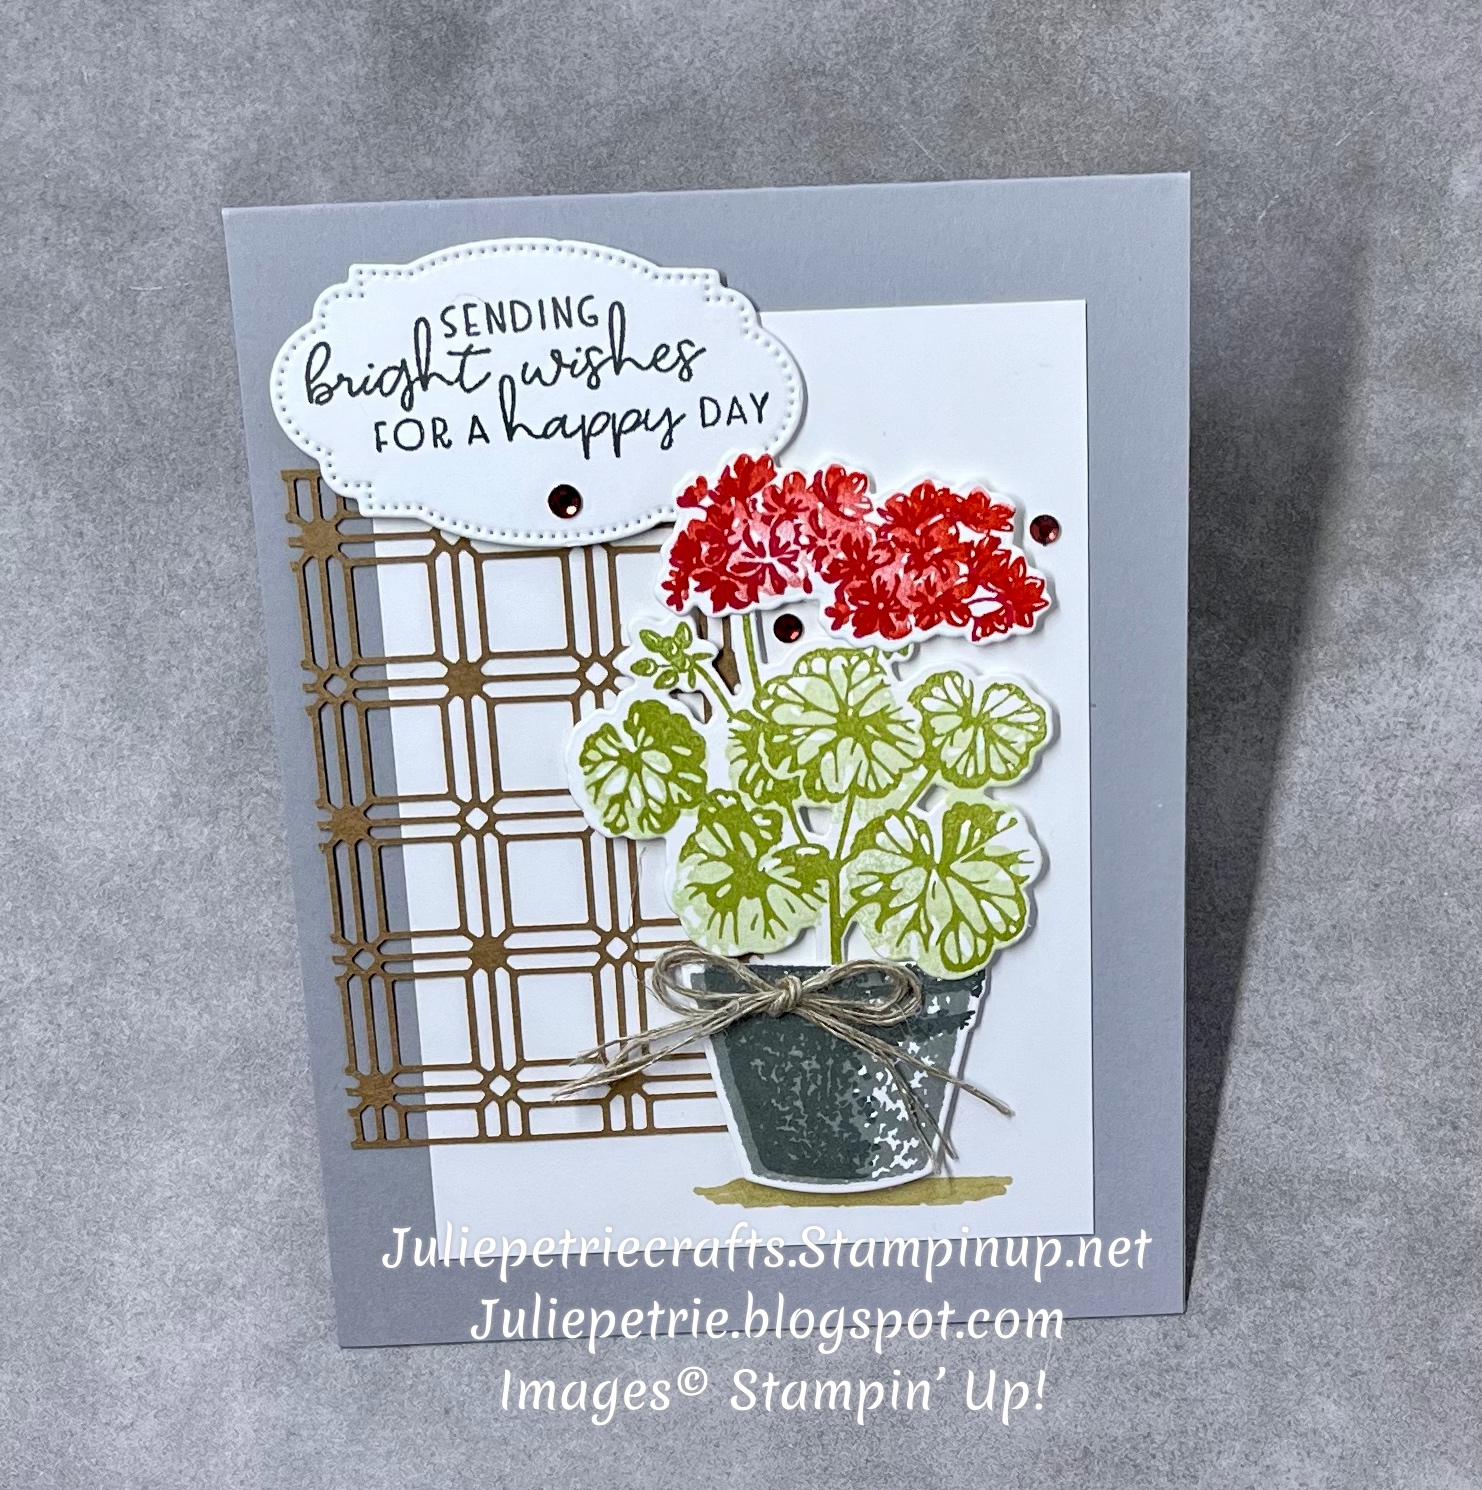
I wanted to keep crafting with this set, I like it so much!
So here is another card! On it I used a lattice embellishment that has been retired, but you may have it in your stash. This card is a top fold: base is Smoky Slate 11" x 4 1/4", folded at 5 1/2". White layer is 4 1/2" x 3 1/4". Label is die-cut from the Geranium Dies, sentiment is from Eclectic Garden stamp set. I made a little bow from linen trim. I added some rhinestone embellishments.
Now you have some ideas how to use the Potted Geranium stamps. I hope you found some inspiration for making a card using this wonderful stamp set.
Let me know if you have any questions. If you are in the USA & are looking for a Demonstrator to work with, I'd love to be yours!
Stay up-to-date with news & information from Stampin' Up!® and the products - sign up for my NEWSLETTER at the top of the blog.
Thanks so much for stopping by the blog today.
Till the next time, take care. JULIE❤


No comments:
Post a Comment